
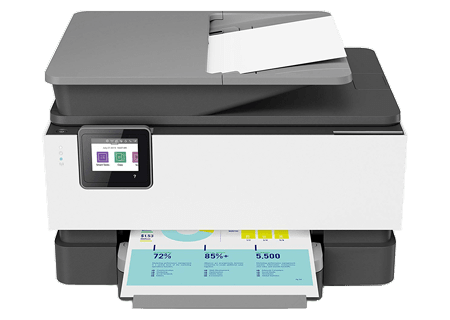
Introducing a new printer into your workspace can be both exciting and daunting. With the HP ENVY Pro 6455, you’re not just getting a printer but a versatile all-in-one solution that offers printing, scanning, and copying functionalities. Setting up your new ENVY Pro 6455 printer is a straightforward process that ensures you’re ready to start printing and scanning in no time. In this comprehensive guide, we’ll walk you through the step-by-step process of HP Envy Pro 6455 Setup Printer, from unboxing to completing the initial setup.
Unboxing Your HP ENVY Pro 6455 Printer
The first step in setting up your new HP ENVY Pro 6455 printer is unboxing it. Follow these steps to safely and efficiently unbox your printer:
- Inspect the Packaging: Carefully inspect the packaging for any signs of damage during transit. If you notice any damage, contact the retailer or HP customer support for assistance.
- Remove Protective Packaging: Remove all protective packaging materials from the printer, including tape, foam, and cardboard inserts. Be sure to check inside the printer for any remaining packaging materials.
- Install Ink Cartridges: Open the ink cartridge access door located on the front of the printer. Install the provided ink cartridges by inserting them into their corresponding slots until they click into place.
- Load Paper: Open the paper input tray and adjust the paper guides to fit the size of the paper you’ll be using. Load a stack of plain paper into the tray, making sure it’s not overloaded.
- Connect Power Cord: Plug one end of the power cord into the printer’s power port and the other end into a power outlet. Turn on the printer by pressing the power button.
Initial Setup Process
Once your HP ENVY Pro 6455 printer is unboxed and powered on, it’s time to complete the initial setup process. Follow these steps to get your printer ready for use:
1: Select Language and Region
- On the printer’s control panel, select your preferred language and region using the touch screen display.
- Follow the on-screen prompts to confirm your selections and proceed to the next step.
2: Install Printer Software
- On your computer or mobile device, navigate to the HP support website.
- Enter the model number “ENVY Pro 6455” in the search bar to find the relevant printer software and drivers.
- Download and install the HP Smart app or the full-feature printer software compatible with your operating system.
3: Connect to Wi-Fi Network
- On the printer’s control panel, select the “Wireless” or “Setup” option to access the wireless settings menu.
- Follow the on-screen prompts to connect your printer to your Wi-Fi network. Enter the Wi-Fi network name (SSID) and password when prompted.
- Once the printer is connected to the Wi-Fi network, proceed to the next step.
4: Align Print Head
- After connecting to the Wi-Fi network, your printer may prompt you to align the print head. Follow the on-screen instructions to complete the alignment process.
- This step ensures that your printer produces high-quality prints by aligning the print head with the paper.
5: Register Printer
- If desired, register your HP ENVY Pro 6455 printer with HP to receive product updates, warranty information, and support.
- Follow the on-screen prompts to register your printer using the HP Smart app or the HP website.
Printing and Scanning
Once the initial setup process is complete, your HP ENVY Pro 6455 printer is ready for use. Here’s how to print and scan documents using your new printer:
Printing Documents
- Open the document or image you want to print on your computer or mobile device.
- Select the print option and choose your HP ENVY Pro 6455 printer from the list of available printers.
- Adjust any print settings as needed, such as paper size, orientation, and quality.
- Initiate the print job and wait for your printer to produce the document.
Scanning Documents
- Place the document you want to scan face down on the scanner glass or face up in the automatic document feeder (ADF), depending on your printer model.
- On your printer’s control panel, select the “Scan” option and choose the desired scanning settings, such as color mode and resolution.
- Follow the on-screen prompts to initiate the scan and save the scanned document to your computer or mobile device.
Troubleshooting Tips
If you encounter any issues during the setup process or while using your HP ENVY Pro 6455 printer, here are some troubleshooting tips to help you resolve common problems:
- Check Connections: Ensure that all cables are securely connected and that the printer is powered on.
- Update Printer Software: Check for and install any available printer software updates to ensure compatibility and performance.
- Restart Printer: If the printer is unresponsive, try restarting it by powering it off and then back on.
- Reset Printer: If necessary, perform a factory reset on your printer to restore it to its default settings.
Conclusion
Setting up your new HP ENVY Pro 6455 printer is a straightforward process that allows you to start printing and scanning with ease. By following the steps outlined in this guide and utilizing troubleshooting tips when needed, you can ensure a smooth setup experience and enjoy the full functionality of your printer. Whether you’re printing documents for work or scanning photos for personal projects, the ENVY Pro 6455 is designed to meet your printing needs efficiently and reliably.