
You can extend the present range of the wireless network with a Netgear setup wifi extender. The Netgear extender dual-band WiFi extender, which can give rates of up to 1200Mbps, offers quick WiFi performance. The extender works with almost all standard WiFi routers.
The Netgear WiFi range extender joins your current WiFi network and uses the 2.4 GHz and 5 GHz frequency bands to enhance the range of the signal. The Netgear WiFi range extender creates a FastLane connection to your present WiFi router or modem. Unlike other types of WiFi range extenders, wifi connectivity boosts WiFi Netgear Extender Setup using Manual Method
Netgear wifi extender setup via Manual Method
Netgear setup wifi extender using the Manual Method. Follow the instructions below to connect successfully:
- Turn on your Netgear Wifi extender, press the Power button.
- Connect your WiFi gadget to a wall outlet. Check to make sure the wall socket is not damaged.
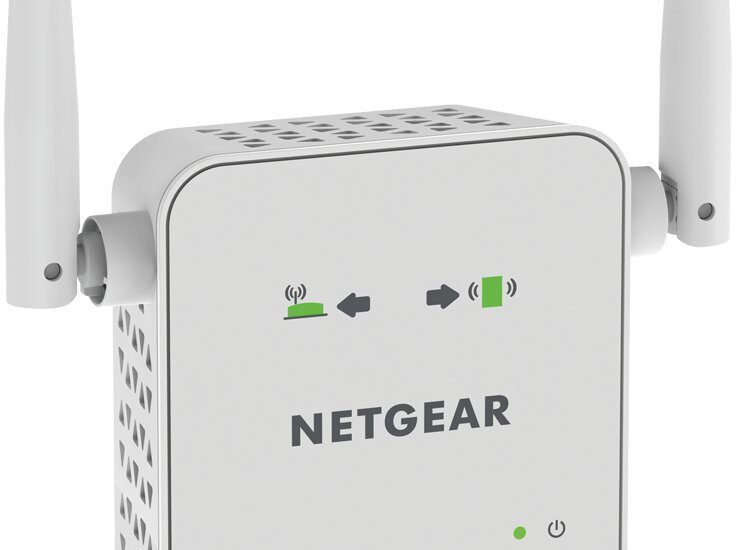
- In a little while, the power LED light will become completely green.
- Utilize an Ethernet cable to link the Netgear Wifi extender to the router.
- Open a browser on your PC and enter 192.168.1.250 or mywifiext.net into the address bar.
- Put your keyboard’s Enter key into action.
- The Netgear Nighthawk extender login page will appear on your screen.
- Enter the default username and password for the WiFi range extender.
- Pay attention to the guidance offered by the Netgear Genie Setup Wizard.
You can configure your Netgear WiFi extender by following the steps above. However, you might encounter problems accessing the login page if you don’t know how to utilize the technology. Therefore, remember that our skilled specialists are available to help you at all times. Setting up your Netgear Wifi ? Do not fret. Simply contact one of our highly trained professionals.
Netgear Wifi extender setup using WPS
Follow these steps for Netgear setup wifi extender through WPS method:
- Start up your Netgear WiFi range extender.
- Your WiFi extender should be placed close to your current WiFi router.
- Your range extender should be connected to a power outlet.
- Hold off until the power LEDs on it light up.
- The Wifi extender’s WPS button should be pressed.
- Place your Wifi range extender in a new spot that is roughly halfway between your router and the region with a weak WiFi signal from your router.
- Bring a computer or mobile device with WiFi capabilities to an area with spotty WiFi router coverage.
- Join the expanded network with your WiFi-capable computer or mobile device.
Common Netgear setup wifi extender Issues
- The default web address for a Netgear extender is broken.
- The network is not connected to the Netgear Wifi extender.
- problems accessing the default IP address
- Even after setting up the Netgear WiFi extender Wifi, the Netgear genie smart setup page still appears.
- No access to the Netgear Wifi extender
- After a firmware update, the Netgear Wifi extender is unable to connect to the internet using the default web address.
- Internet access but no functionality
Troubleshooting Netgear Wifi extender Setup issues
- Check to see if the WiFi extender is getting the right amount of power from the wall outlet.
- Check to make sure the range extender wall plug is not broken or short-circuited.
- Use your device to access a high-speed internet connection.
- Verify each and every wired connection. Use only undamaged cables.
- Keep your WiFi extender away from things like metal objects, aluminium studs, microwaves, fish tanks, cordless phones, and room corners.
- If you are having issues with the default web address, make sure you have typed the right URL in the address bar.
- Try to access your Netgear Nighthawk Wifi again after performing a power cycle
Netgear Wifi extender Firmware Update
Follow these steps to update the firmware on your Netgear Wifi extender:
- Connect the power adapter for your Netgear Wifi wireless range extender to a wall outlet.
- Check the power LED on the extender to ensure it is turned on.
- Connect your PC or laptop to a high-speed WiFi network.
- Now launch your preferred web browser.
- Navigate to the Netgear Wifi extender’s login page.
- Fill in your user ID and password.
- Click the Login button.
- Choose the Extender Menu option.
- Select Settings > Firmware Update to go to the Firmware Update page.
- Choose the Check option.
- The extender will attempt to find a new firmware update.
How to reset Netgear Wifi extender?
Here are the steps you must follow to reset your Netgear Wifi extender:
- Make sure the router and Netgear Wifi extender are connected properly.
- Find the Reset button on your Netgear Wifi extender WiFi range extender next.
- Once it is located, press the button with a paper clip or oil pin.
- The button should be released after a few seconds.
If you are still facing any problem related to Netgear setup wifi extender, then contact our expert for free assistance via live chat or toll free number.
performance and speeds up current connections.